ENG
 English
 Español
 Português
 عربى
 中文简体
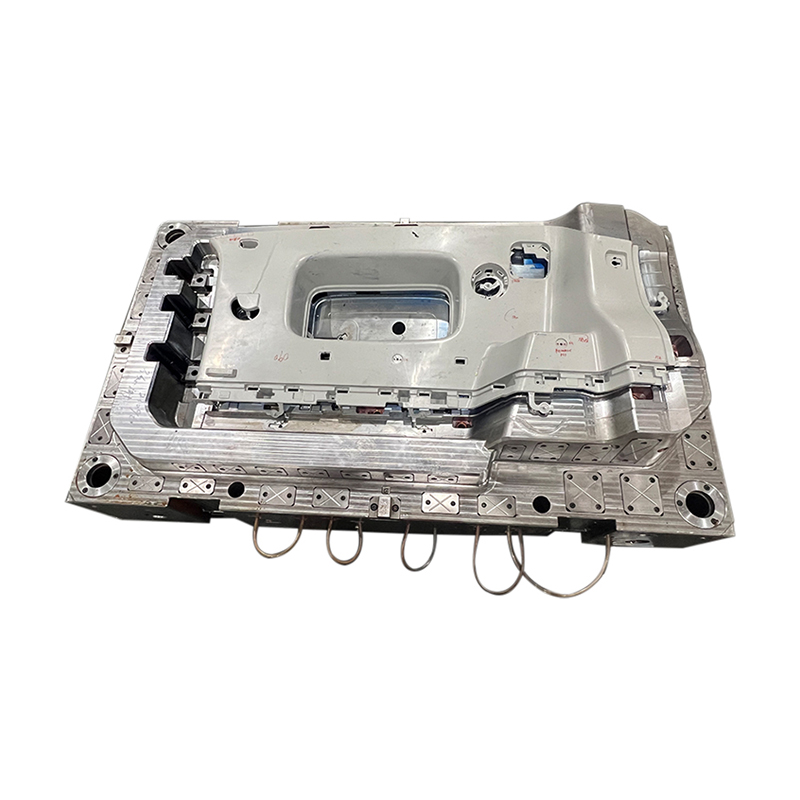
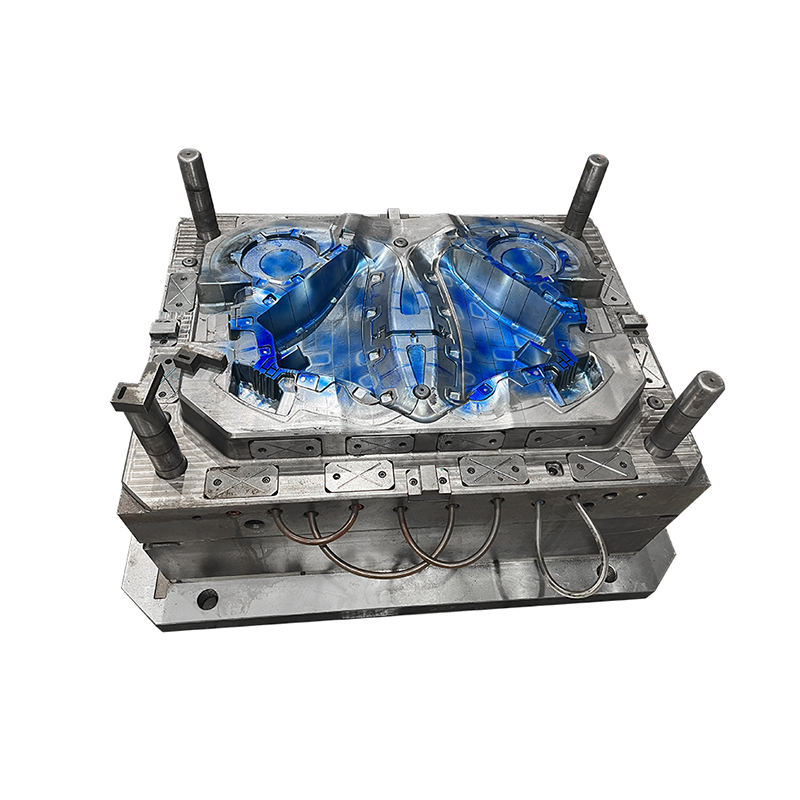
A mold box is a key part of many industrial manufacturing processes. It holds the molding material in place, helps define the product's shape, and keeps production consistent. Depending on the job, it may be used for casting, forming, sample preparation, or other tasks. Its structure and material vary with the product and the conditions it will face.
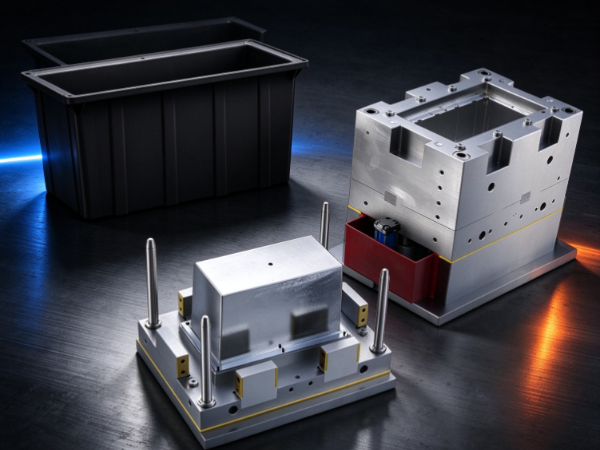
Making one takes more than putting a few pieces of material together. The design has to fit the application, the internal space has to match the required product shape, and the joints have to stay stable in use. Poor planning can lead to leaks, uneven surfaces, hard-to-remove parts, and the same problems showing up batch after batch.
A clear process helps manufacturers control these risks. From defining the application to inspecting the finished structure, every stage affects how the box performs. Seeing how the stages connect helps production teams make practical decisions and get a mold box ready for industrial use.
What Should You Consider Before Making a Mold Box ?
Start with the purpose of the box. One used for metal casting has different needs from one used for concrete samples or resin parts. The process affects the material, the cavity shape, the joining method, and how the finished product comes out.
Before drawing up a design, pin down the product's basic characteristics: its shape, surface requirements, material behavior, and expected production frequency. The working environment counts too. Heat, moisture, pressure, vibration, and contact with chemicals can all affect how the box performs.
Review these factors during planning:
- Application: Define what the box will produce and how it will be used.
- Product shape: Identify flat surfaces, curves, recesses, openings, and other structural details.
- Molding material: Consider how it flows, sets, cools, or changes during processing.
- Production frequency: Decide whether the box is for occasional use, repeated production, or a longer manufacturing cycle.
- Handling requirements: Think about how the box will be moved, opened, cleaned, and stored.
- Inspection needs: Identify the areas that need close attention during quality checks.
A drawing or digital model turns these requirements into a practical design. It should show the internal cavity, the outer structure, the joining points, and any features needed for assembly or removal. If the product has a complex shape, review the design with the production team, since they may spot problems that aren't obvious on paper.
Clear planning also saves you from changes after fabrication starts. If the intended use shifts during production, review the design before work continues.
Which Materials Are Suitable for Making a Mold Box?
Material choice affects the box's strength, weight, surface condition, maintenance needs, and service life. No single material suits every industrial application. The right one depends on the molding process, the environment, the shape, and how often the box will be reused.
Metal is a common choice when the box needs a rigid structure or must survive repeated handling. Steel suits applications that need structural strength. Aluminum helps when lower weight and easier machining matter. Which metal works best depends on the operating conditions and the surface finish you need.
Plastics can work for lightweight boxes, sample preparation, or jobs where corrosion resistance helps. Some plastics are also easy to machine into specific shapes. Check their heat resistance, load capacity, and durability under repeated use before you commit.
Wood can serve in some temporary molding jobs, or where the design may need adjusting during preparation. It's easy to cut and assemble with basic tools, but moisture, wear, and changes in shape can limit how long it lasts. Other materials may suit specialized molding processes.
| Material | Potential advantages | Points to consider |
|---|---|---|
| Steel | Rigid structure and resistance to handling damage | Weight, corrosion protection, and machining requirements |
| Aluminum | Lower weight and convenient machining | Surface wear and suitability for the working conditions |
| Plastic | Corrosion resistance and flexible fabrication options | Heat resistance, stiffness, and long-term wear |
| Wood | Easy cutting and adjustment for some applications | Moisture absorption, surface changes, and durability |
Choose the material for the whole application, not for one feature. A lightweight box is easy to handle but still needs enough rigidity to hold its shape. A strong material gives stability but may take extra work to get the cavity or surface finish you want.
Compatibility with the molding material matters as well. Some substances stick to a surface, react with it, or make cleaning hard. Review these risks and pick suitable surface treatments or release methods where needed.
How Do You Design the Mold Box Structure?
A good design holds its shape and lets the molding process run without needless trouble. The internal cavity defines the product's form. The outer structure supports the box during filling, handling, and removal.
Begin with the product geometry. The cavity must reflect the shape being formed, including edges, openings, recesses, and other features. If the product has to come out after the material sets, plan for how it will separate from the box.
Some shapes lift straight out of the cavity. Others need removable side panels, split sections, or a planned opening method. If the box is hard to open, workers may force it and damage the product or the mold surface.
Structural support matters just as much. Large or irregular boxes may need reinforced corners, extra support panels, or a stable base. The right arrangement depends on box size, material, and the forces in the process. Supports shouldn't get in the way of filling, inspection, cleaning, or removal.
Think about assembly too. A structure that aligns and secures easily cuts down setup trouble. Removable components make cleaning and repair more convenient, especially when the box is used again and again.
Before fabrication, check the design for possible problems:
- Are the internal dimensions consistent with the intended product shape?
- Can the box be assembled without forcing the panels into place?
- Are the joints accessible for sealing, inspection, and repair?
- Can the molded product be removed without damaging its surface?
- Will the structure stay stable during filling and handling?
- Can workers clean the cavity and check for wear?
A design review catches issues before they turn into fabrication problems. It also gives the production team one shared reference for manufacturing, assembly, and inspection.
What Tools and Equipment Are Needed?
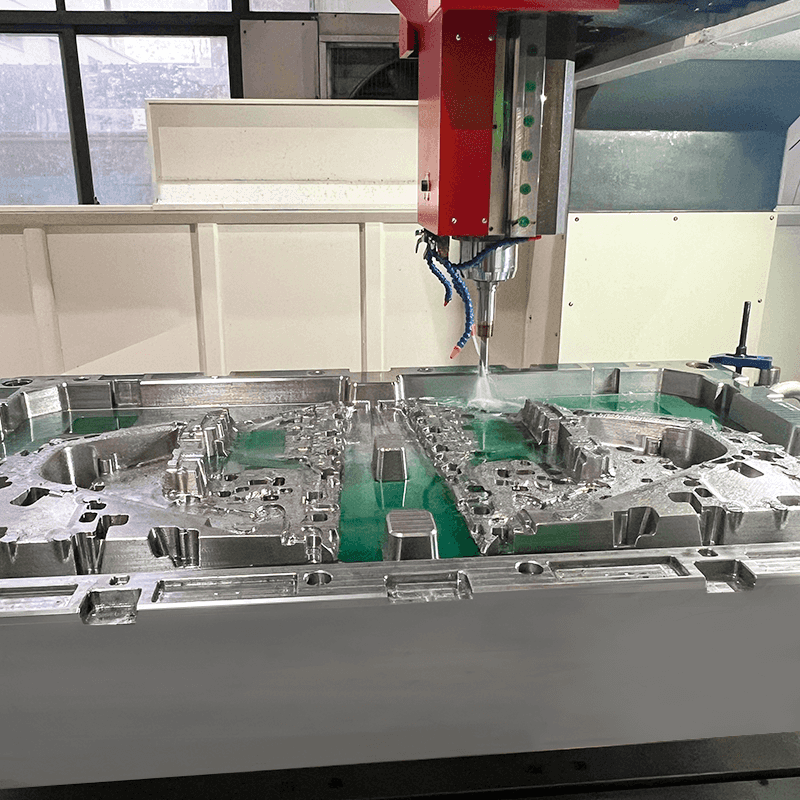
The tools depend on the material and how complex the structure is. A simple box may need only basic cutting and fastening tools. A more complex industrial box may call for machining equipment, welding tools, or specialized measuring instruments.
Cutting tools prepare the panels and structural parts. Match them to the material. Metal parts may need sawing, machining, or other metalworking methods, while plastic and wood can often be cut with different equipment.
Drilling and fastening tools create the assembly points. Depending on the design, parts may be joined with screws, bolts, clamps, welds, or other methods. The connection should be stable enough and still let you maintain the structure when necessary.
You'll need measuring and inspection tools throughout fabrication. They let workers check component sizes, confirm alignment, and find gaps or uneven edges. Reliable measuring reduces the risk of assembling parts that don't fit.
The work area should support safe, orderly production. Place components where they can be handled without needless movement. Clear away cutting debris, metal fragments, and other waste as you go. Wear personal protective equipment suited to the tools and materials.
Before fabrication, prepare a tool list based on the approved design. Confirm the equipment suits the chosen material and that workers understand the operations. This prevents delays from missing or unsuitable tools.
How Is a Mold Box Made Step by Step?
With the design, material, and equipment confirmed, fabrication can start. The sequence varies by application, but a controlled process generally covers preparing the components, forming the cavity, joining the structure, sealing the necessary areas, and checking the finished box.
Prepare the components
Review the design drawing and identify each part. Mark cutting lines and assembly points clearly. Check the material for visible damage, uneven surfaces, or other conditions that could affect fabrication.
Cut the components to the approved design. Don't adjust by eye, especially when several parts must fit together. After cutting, remove sharp edges and clean the surfaces so the parts can be handled and assembled more safely.
Form the cavity
Arrange the prepared panels or components to create the intended internal shape. Check each part's orientation before joining it to the structure. Small assembly mistakes can change the cavity or make the finished product hard to remove.
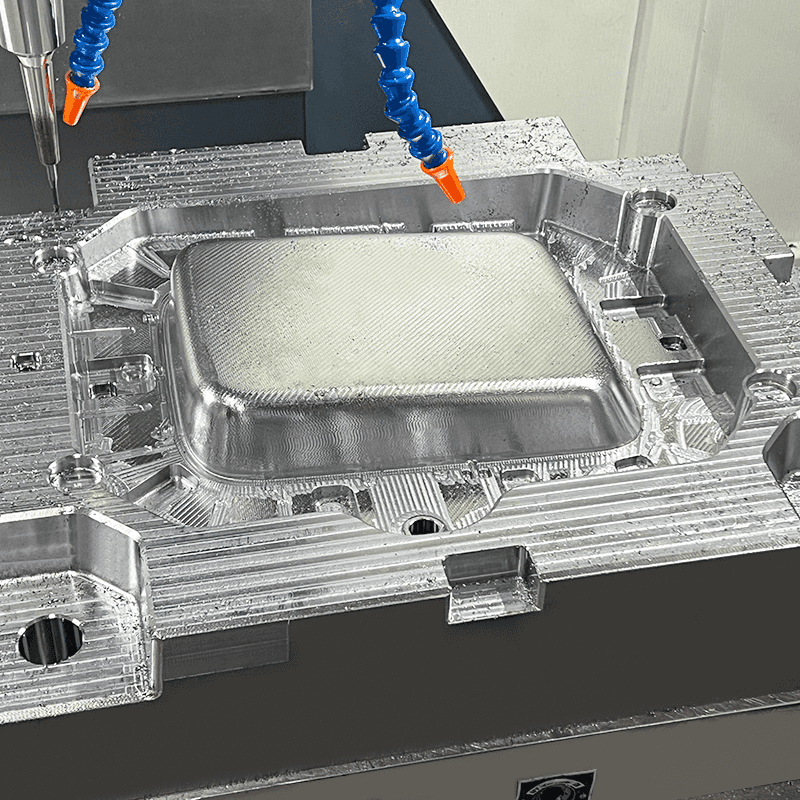
For a box with a complex internal shape, the cavity may need to be machined or formed separately before installation. Check its surface and geometry before moving on. Corrections are usually easier while the components are still accessible.
Join the components
Connect the panels with the joining method the design specifies. Mechanical fasteners allow easier disassembly, while welding may suit certain permanent metal structures. Match the method to the material and intended use.
Keep the components aligned during assembly. Check the corners, edges, and base as the structure takes shape. If the box has removable sections, confirm they fit into place without excessive force and can be secured the same way every time.
Seal the required joints
Some molding processes need the box to hold liquid, fine particles, or other materials that could escape through gaps. In those cases, seal the joints and contact surfaces.
The sealing method depends on the material and process. It may be a gasket, a compatible sealant, a fitted joint, or another approved solution. The sealing material shouldn't interfere with the molding substance or the conditions the box operates in.
Sealing is no substitute for accurate assembly. Large gaps or misaligned panels stay hard to control even with sealant. Fix the underlying fit before you rely on the seal.
Finish and clean the surface
After assembly, remove burrs, debris, and residues. Smooth areas that could affect the molded product or make release difficult. Where the application needs it, apply a suitable protective coating or surface treatment.
The finish should suit the intended use. A surface that works for a rough molded part may not be right for a product with visible surface requirements. Check that any coating or release agent is compatible with the molding material before you add it.
Inspect the finished structure
Check the overall shape, cavity, joints, fasteners, and surface condition. Confirm that removable sections open and reassemble as intended. Look for gaps, loose connections, sharp edges, and visible deformation.
If the process requires it, run a controlled trial with the actual molding material or a suitable test method. Watch whether the material stays in the cavity, whether the box holds steady, and whether the product comes out as planned. Record any issues and fix them before the box enters routine production.
How Can You Prevent Common Mold Box Problems?
Many mold box problems start with small errors in design or fabrication. A panel sits slightly off, a joint stays open, or the cavity has a surface defect. These issues can affect the finished product and create extra work in production.
Leakage is common when the box holds liquid or fine molding material. The cause may be a poor fit between panels, an unsuitable sealing method, or damage around a joint. Inspect the contact surfaces before assembly and check the finished structure for gaps. If leakage shows up in a trial, find the source instead of just adding sealant.
Deformation can happen when the material or support structure doesn't suit the operating conditions. Excessive force, uneven loading, heat, or repeated handling can change the box's shape. Reviewing the structure and supports can reveal weak areas before regular use.
Difficult removal often points to a design issue. The cavity may have features that trap the molded part, or the surface may let the molding material grip too hard. Consider removable panels, a different cavity arrangement, or a compatible release method.
Surface defects can come from rough machining, leftover debris, damaged coatings, or poor cleaning. They can leave unwanted marks on the molded product. Clean the cavity before use and inspect hard-to-reach areas.
A simple problem-checking table helps production teams respond consistently.
| Problem | Possible cause | Practical response |
|---|---|---|
| Material leakage | Open joints or poor alignment | Check the fit and repair the sealing arrangement |
| Box deformation | Inadequate support or unsuitable material | Review the structure and working conditions |
| Difficult product removal | Cavity design or surface adhesion | Review the release method and internal shape |
| Uneven product surface | Debris, rough areas, or surface damage | Clean and inspect the cavity |
| Loose components | Worn fasteners or weak connections | Secure or replace the affected parts |
A steady inspection routine can expose recurring problems. When the same defect keeps appearing, review the design and manufacturing process instead of patching each box separately.
How Should You Inspect and Maintain a Mold Box?
Inspection and maintenance keep a mold box fit for its use. The routine depends on the material, the molding process, and how often the box is handled. A box used repeatedly in a demanding setting needs closer attention than one used now and then for samples.
Before each use, check the cavity for debris, residue, scratches, and signs of wear. Inspect the joints and fasteners to make sure the structure is still secure. If the box has removable sections, confirm they fit properly and work without unusual resistance.
After use, remove leftover molding material with a cleaning method that's compatible with the box surface. Avoid tools or chemicals that might scratch, corrode, or weaken the material. Let the box dry when moisture could affect its condition or the next molding run.
Storage affects service life too. Keep the box where it's protected from impact, contamination, and unsuitable conditions. Store removable components where you can identify and retrieve them without damage.
Maintenance records help track recurring defects and repairs. A simple log can note the inspection date, the box's condition, any repairs, and whether it's ready for further use. These notes show wear patterns and help the team decide when to repair or replace a part.
Take the box out of service when damage affects safe operation or its ability to produce the required shape. Loose structures, serious deformation, damaged joints, or defects that normal maintenance can't correct may call for a professional assessment.
What Should Manufacturers Check Before Using a Mold Box in Production?
Evaluate the box as part of the whole manufacturing process. A structure that looks sound can still cause trouble if it doesn't fit the molding equipment, suit the material, or support the required handling method.
Confirm that the finished box matches the approved design. The cavity should reflect the intended product shape, and the joining points should stay secure during normal handling. If the box has to connect with other equipment, check the contact areas and assembly interfaces before production starts.
The molding material must be compatible with the box. Consider whether the material can be contained, whether the surface allows good release, and whether the box can tolerate the conditions of processing. Assess any release agent, coating, or sealant for compatibility instead of adding it automatically.
Workers should know how to assemble, fill, open, clean, and store the box. Clear instructions reduce handling mistakes, particularly when removable panels or special sealing methods are involved. If several production teams share the box, consistent procedures keep the working method the same.
Before routine use, review these points:
- The material and structure match the intended application.
- The cavity and outer components follow the approved design.
- The joints, fasteners, and seals are in suitable condition.
- The box can be filled and handled without needless movement.
- The molded product can be removed using the planned method.
- The cleaning and storage procedures are clearly defined.
- Any trial results or identified defects have been reviewed.
Making a mold box for industrial use is a coordinated process of design, material selection, fabrication, assembly, and inspection. When each stage reflects real production requirements, the finished structure is easier to use, maintain, and evaluate as manufacturing needs change.