ENG
 English
 Español
 Português
 عربى
 中文简体
A mold box is a key part of many industrial manufacturing processes. It holds the molding material in place, helps define the product's shape, and keeps production consistent. Depending on the job, it may be used for casting, forming, sample preparation, or other tasks. Its structure and material vary with the product and the conditions it will face.
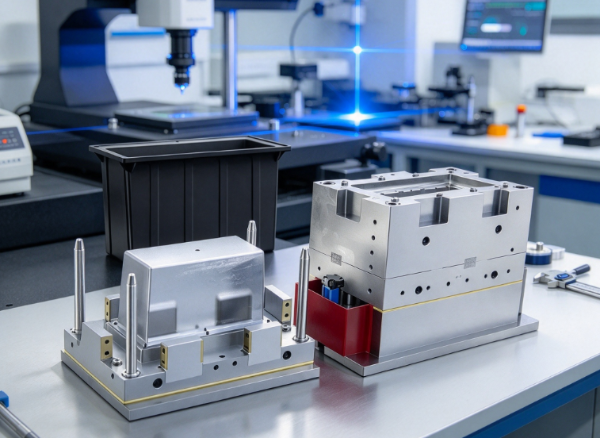
Making one takes more than putting a few pieces of material together. The design has to fit the application, the internal space has to match the required product shape, and the joints have to stay stable in use. Poor planning can lead to leaks, uneven surfaces, hard-to-remove parts, and the same problems showing up batch after batch.
A clear process helps manufacturers control these risks. From defining the application to inspecting the finished structure, every stage affects how the box performs. Seeing how the stages connect helps production teams make practical decisions and get a mold box ready for industrial use.
Why Is Custom Junction Box Mould Development Necessary?
Junction boxes end up in many different electrical environments. Designs vary with installation location, wiring layout, protection needs and the equipment inside. A mould built for one product may not suit another, even if the two enclosures look alike from outside.
Some boxes are meant for indoor installations. Others go into outdoor equipment, industrial control systems or building wiring. Each of these may need a different enclosure shape, cover structure, cable entry position and mounting method. A custom mould lets the product design reflect those differences.
Appearance is another reason. Customers may want a particular surface finish, logo position, cover style or connection structure. These details have to be considered during mould design, not bolted on afterward once the mould is already made.
Custom development can also support changes in production. A manufacturer might adjust the product structure to simplify assembly, improve material flow or make the enclosure easier to remove from the mould. Those changes need review before manufacturing begins.
Common reasons for a custom mould include:
- Product shape: The enclosure may have a special outline, internal layout or cover structure.
- Installation requirements: Mounting holes, fixing points and cable entries may need to match a particular installation method.
- Internal space: The design must leave room for wires, connectors and other electrical components.
- Material requirements: The chosen plastic may affect the mould structure and production approach.
- Appearance needs: Surface texture, edges and visible details may need to follow a specific product design.
- Production planning: The mould may need to support a particular manufacturing process and expected workflow.
The point of custom development is to link the product's intended use to a mould structure that supports stable manufacturing.
What Information Should Be Prepared Before Mould Design?
A clear product brief gives the mould maker a solid starting point. Without enough information, the design team has to guess about shape, function or manufacturing requirements, and those guesses can lead to repeated revisions later.
Product drawings are usually central at this stage. They show outer dimensions, wall structure, internal features, openings and connection positions. A three-dimensional model also helps the team see how the parts fit together.
Drawings alone may not explain every practical requirement, though. The customer should also describe how the box will be installed, what components it must hold and whether it has a separate cover or other assembled parts.
Discuss the expected plastic too. Materials behave differently in moulding. Some shrink more than others, and some need different moulding conditions. The material can influence the cavity design, the cooling arrangement and other mould features.
A product brief may cover the following:
| Information | Why It Matters |
|---|---|
| Product drawings | Help define the enclosure shape and structural details |
| Three-dimensional model | Shows the relationship between internal and external features |
| Material preference | Supports mould design and production planning |
| Installation method | Determines mounting points and connection openings |
| Cover design | Clarifies how the cover fits and stays in place |
| Internal component layout | Helps confirm available space and structural requirements |
| Surface appearance | Guides the treatment of visible mould surfaces |
| Production expectations | Helps the manufacturer plan the mould structure and production process |
It also helps to say which product features are essential and which can flex. A mounting hole position may be fixed because it has to match an existing installation. A non-functional surface detail might leave room for change.
Sorting this out early makes communication smoother and lets the mould maker focus on the features that matter most.
How Is the Junction Box Product Design Reviewed?
Once the product information arrives, the mould maker usually reviews the design before detailed mould work starts. The review aims to find features that could cause trouble in moulding or assembly.
A junction box is often more than a plain outer shell. It may have mounting holes, internal supports, screw positions, cable openings, ribs and cover connections. These need to be treated as one structure, since changing one area can affect another.
Wall thickness is a key point. Large differences in thickness make the plastic cool unevenly, which can cause surface marks or distortion. The design team may review the walls and suggest changes where appropriate.
Corners and edges deserve a look as well. Sharp internal corners make material flow harder. Rounded transitions tend to suit the mould better and can reduce stress in the finished part.
The review may cover several areas:
Enclosure structure
The manufacturer checks the outer shape, internal space, wall arrangement and supporting features, making sure the design can be produced while keeping its intended function.
Cover connection
Many junction boxes have separate covers, held by screws, clips or another method. The cover should fit correctly without making assembly needlessly hard.
Mounting features
Mounting holes and fixing points need to sit where the installation requires. The structure around them should give enough support for normal use.
Cable entry areas
Cable openings should match the intended wiring. Their positions can affect both the product layout and the mould structure.
Part removal
The finished part should leave the mould without undue resistance. Sloped surfaces and suitable structural arrangements help.
The review is also the time to decide whether the product itself should change before the mould is built. Adjusting a feature in a digital design is usually far easier than altering a finished mould.
How Are Materials and Mould Structures Selected?
Material choice and mould structure planning go hand in hand. The plastic affects how the product behaves during moulding, and the mould structure decides how the material enters, fills, cools and leaves.
Typical plastics for junction boxes include ABS, polycarbonate, polypropylene and other engineering plastics. Each has its own characteristics. The right pick depends on the environment, mechanical requirements, electrical application and relevant product standards.
An outdoor box, for instance, may have to cope with sunlight, moisture and changing conditions. A box for an industrial setting may face different demands around impact resistance or chemical exposure.
Don't choose material on looks or purchase cost alone. Its performance in the intended application has to count. Customers should pass any relevant product requirements on to the mould maker and the material supplier.
The mould structure is then planned around the product design and the chosen material. Several elements have to work together:
| Mould Element | Main Function |
|---|---|
| Mould cavity | Forms the outer shape of the junction box |
| Core structure | Creates internal spaces and product features |
| Feeding system | Guides molten plastic into the mould |
| Cooling system | Helps the plastic cool and take shape |
| Ejection system | Releases the finished part from the mould |
| Venting arrangement | Allows trapped air to escape during filling |
| Guiding components | Help the mould sections align during operation |
How these elements are laid out depends on the box's shape and structure. A simple enclosure may need a fairly straightforward mould. A design with side openings, internal supports or complex cover connections takes more planning.
The number of cavities is another decision. A mould can make one part or several per cycle, depending on product design, production needs, mould cost and the expected manufacturing process. Settle it before the detailed structure is finalized.
What Happens During Mould Manufacturing?
After the design is reviewed and approved, manufacturing begins. This stage turns the digital design into physical mould parts that can be assembled and tested.
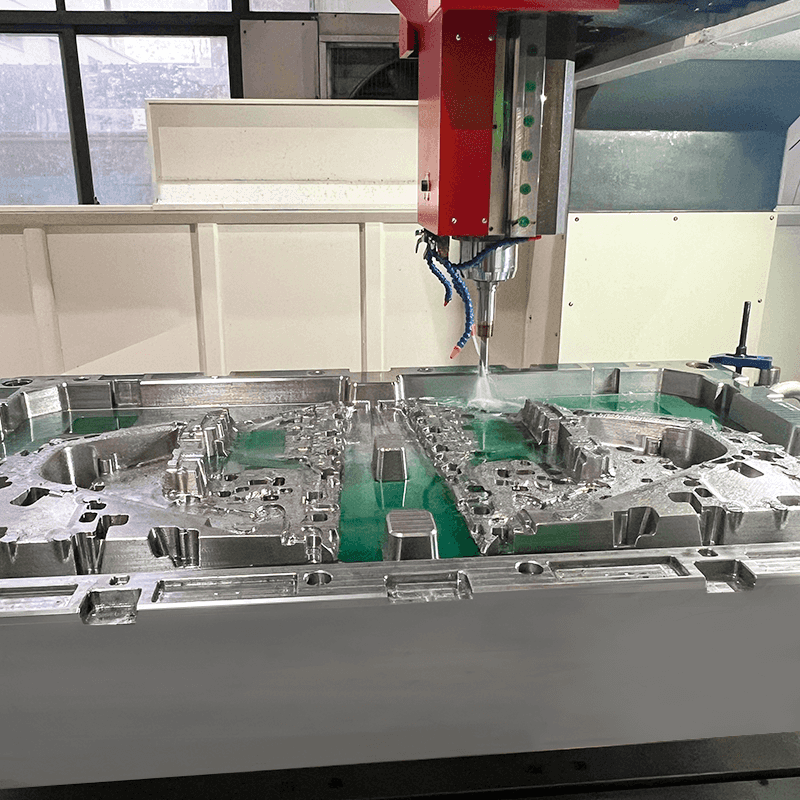
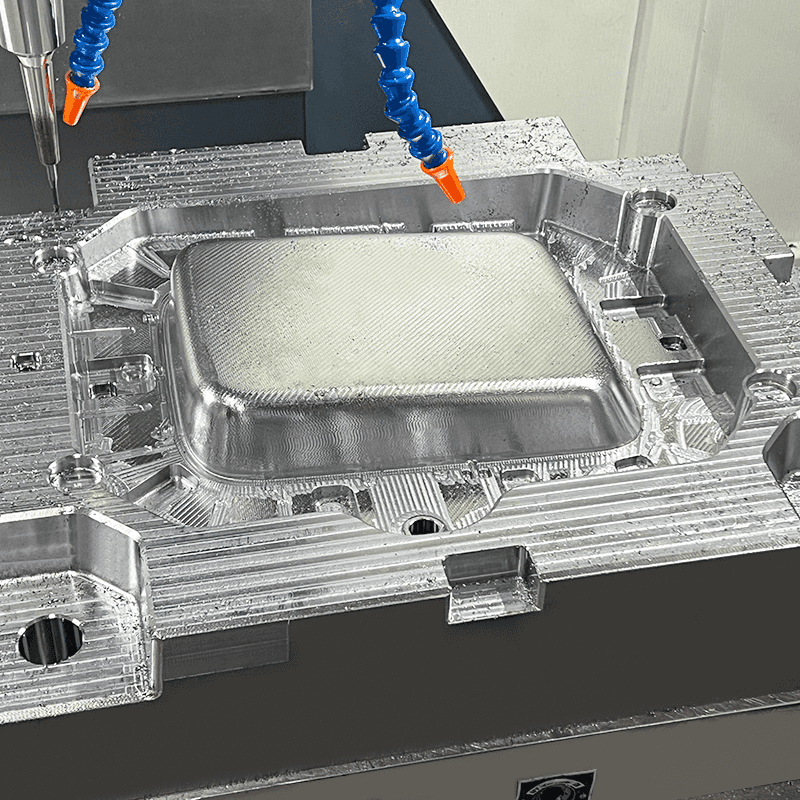
Several linked operations are involved. The mould base and main structural parts are prepared to the approved design. The cavity and core are then formed through suitable machining and finishing.
Accuracy here affects how the mould fits together and how the finished box looks. If cavity and core don't align, the product may get uneven edges, visible gaps or other defects.
Surface treatment matters too. The inside surface of the mould shapes the look of the plastic part. Visible enclosure surfaces may need a smooth finish, while some products use texture for appearance or grip.
Manufacturing commonly includes:
- Material preparation: Mould materials are selected to suit the structure and expected production conditions.
- Mould base preparation: The main supporting structure is prepared to hold the mould components.
- Cavity and core machining: The product shape and internal features are formed.
- Component fitting: Different mould parts are assembled and checked for correct positioning.
- Surface finishing: Relevant surfaces are treated to meet the product's appearance requirements.
- Mould assembly: The mould is assembled for inspection and later testing.
Quality checks run throughout. They may cover component dimensions, alignment, surface condition and the movement of mechanical parts.
Keep talking during manufacturing. If the mould maker spots a design issue that wasn't clear in the drawings, the customer should hear about it before any major change is made. That prevents surprises between the approved design and the finished mould.
Why Is Trial Moulding Important Before Mass Production?
A mould built exactly to the drawings still has to be tested. Trial moulding shows whether it can produce a junction box with the intended shape, appearance and basic functional features.
In a trial, plastic is run through the mould to make sample parts, and those samples are inspected. The results tell the manufacturer how the mould performs under real production conditions.
Inspection should cover appearance and structure. Visible problems include incomplete filling, flash, sink marks, surface lines and uneven edges. Structural checks look at wall consistency, mounting holes, cover connections and internal features.
Fit testing matters when the box has several parts. If the cover doesn't line up with the enclosure, the cause could lie in the mould design, the product dimensions or how the assembled parts relate to each other.
A trial may include these activities:
- Initial mould inspection: Check the mould assembly and confirm that moving parts work as intended.
- Sample production: Use the selected plastic to produce initial junction box samples.
- Appearance inspection: Review the surface, edges, openings and overall shape.
- Structural inspection: Check internal features, mounting areas and other functional details.
- Assembly testing: Fit the cover and other related components to assess their connection.
- Problem recording: Document defects or differences between the samples and approved requirements.
- Mould adjustment: Make suitable changes and run further tests when necessary.
Not every issue means a major mould modification. Some problems come from production conditions rather than the mould itself, so the manufacturer should find the likely cause before deciding what to change.
Customer feedback is especially valuable now. The customer can check whether the sample matches the intended design and suits its planned installation. Clear feedback helps the manufacturer decide which adjustments are really needed.
What Factors Can Affect the Development Schedule and Cost?
Schedule and cost for a custom junction box mould depend on several factors. No single plan fits every project, because product structures and manufacturing requirements vary a lot.
Complexity is a major one. A simple enclosure with few internal features needs less design and machining work than a product with multiple openings, special connections and detailed internal structures.
The material can also shape the process. Some plastics need particular moulding conditions or extra attention to cooling and shrinkage, which may affect mould design and trial arrangements.
Design changes add work. If the customer alters the product shape after mould manufacturing has started, finished components may need modifying or remaking, which increases both time and cost.
This table shows common factors that may influence a project:
| Factor | Possible Effect on Development |
|---|---|
| Product complexity | Changes the difficulty of mould design and manufacturing |
| Material selection | Influences mould structure and trial conditions |
| Number of cavities | Affects mould layout and production planning |
| Surface requirements | May require additional finishing work |
| Product revisions | Can lead to repeated design or machining changes |
| Trial results | May require further adjustment and testing |
| Inspection requirements | Affect the checks needed before approval |
Customers can keep these factors in check by supplying complete product information and confirming key design details before mould manufacturing starts.
A clear agreement should also spell out what the development process includes: design review, mould manufacturing, trial moulding, sample inspection and agreed adjustments. Both parties should know how design changes will be handled and how final approval will be given.
How Should Buyers Choose a Junction Box Mould Manufacturer?
Choosing a mould maker takes more than comparing quotes. The supplier has to understand the product, evaluate its structure and communicate clearly through the whole development process.
Design capability counts. A manufacturer should be able to review product drawings, spot potential manufacturing problems and discuss practical design changes. That helps avoid issues before mould production begins.
Experience matters too. A supplier familiar with plastic injection moulds and electrical enclosures will likely understand common features such as mounting points, cable openings, internal supports and cover connections.
Ask about quality control as well. Find out how mould components are inspected, how trial samples are evaluated and how problems are recorded and dealt with.
Don't overlook communication. Custom mould development has several stages, and a decision in one can affect later work. The supplier should give clear updates and explain technical issues in language the customer can follow.
Before ordering, buyers may want to raise these questions:
- Can the manufacturer review product drawings and identify possible design problems?
- Does the supplier understand the selected plastic and its moulding requirements?
- How are mould components inspected during manufacturing?
- Is trial moulding included in the agreed development process?
- How are sample defects recorded and handled?
- What happens if the customer requests design changes?
- What information is required before the mould design is approved?
- How will the final mould and sample products be checked before acceptance?
A detailed conversation helps both sides understand the project scope and responsibilities. It also shows the customer how the mould maker approaches design, production and quality control.
For a custom junction box mould, the best cooperation starts from a shared understanding of the product. Clear drawings, realistic material choices, careful design review and structured sample testing all help produce a mould that supports the intended manufacturing process.